


Mixstream Pro
Setup
The functionality explained in this manual applies to 3 models:
- Mixstream Pro
- Mixstream Pro+ (same as Mixstream Pro but has a buil-in chipset to allow Amazon Music in stand-alone mode)
- Mixstream Pro GO (same as the previous models but with built-in battery)
Firmware & Drivers
Firmware : Update the firmware Engine OS of the unit to the latest available version from https://enginedj.com/downloads
Drivers : (Windows only) Download and install the latest Windows drivers from :
https://www.numark.com/product/mixstream-pro (for Mixstream Pro )
https://www.numark.com/product/mixstream-pro-plus (Mixstream Pro Plus)
https://www.numark.com/product/mixstream-pro-go (for Mixstream Pro GO)
If the Windows driver fails to install, please follow the instructions from https://support.inmusicstore.com/en/support/solutions/articles/69000832269-numark-mixstream-pro-driver-will-not-install
No driver is necessary to be installed on Mac OSX computers.
Note Due to Denon SDK incompatibility, the screens will be operational on Mac OSX 10.14 or later.,
Switch to Computer mode
When the Mixstream Pro (Plus/GO) is powered on, it will be set to Standalone mode. To switch to Computer mode and control VirtualDJ you need to ...
- press the button with the Settings icon on the Mixstream Pro (at the right side of the screen) or slide down the screen.
- select Source from the Mixstream Pro display], then press on the Computer icon at the top of the screen.
- allow a few seconds for the Computer mode to initialize (Computer mode should be displayed on screen)
VirtualDJ Setup
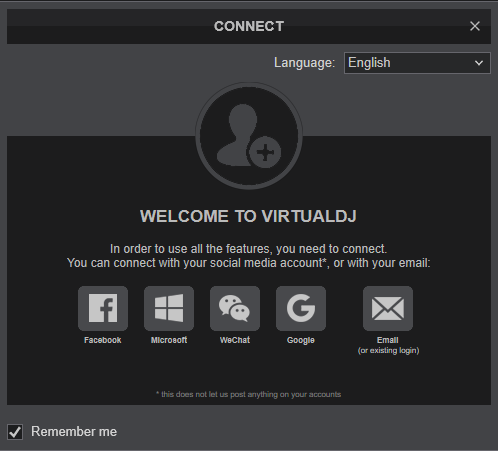
Once VirtualDJ is opened, a Connect Window will appear. Login with your virtualdj.com account’s credentials.
A Pro Infinity or a Pro Subscription License is required to use the Numark Mixstream Pro. Without any of the above Licenses, the controller will operate for 10 minutes each time you restart VirtualDJ.
https://virtualdj.com/buy/
Select the Mixstream Pro button in order VirtualDJ to apply the pre-defined audio configuration (speakers need to be connected to the rear side of the unit in this case), or Computer if you don't have any speakers to connect to the Mixstream Pro and need to output sound from the default sound card of your computer.
Click to OK
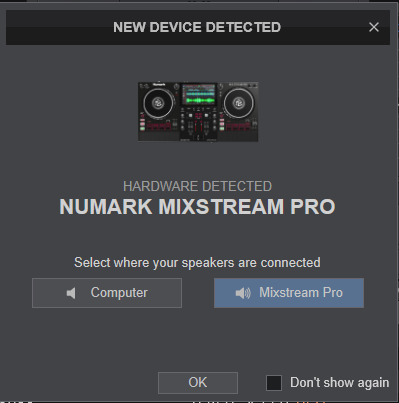
The device is now ready to operate.
MIDI Operation
The device should be visible in the MAPPING tab of VirtualDJ Settings and the “factory default” available/selected from the Mappings drop-down list.
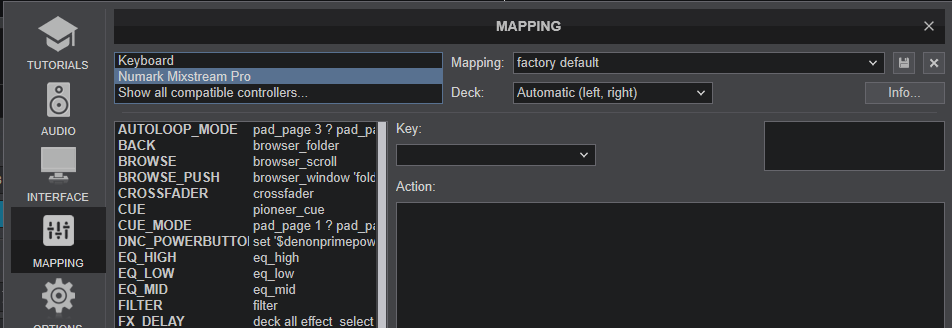
The factory default Mapping offers the functions described in this Manual, however those can be adjusted to your needs via VDJ Script actions.
Find more details at https://virtualdj.com/wiki/VDJscript.html
AUDIO Setup
The unit has a pre-defined Audio setup and a special button in the AUDIO tab of VirtualDJ Settings to provide that.
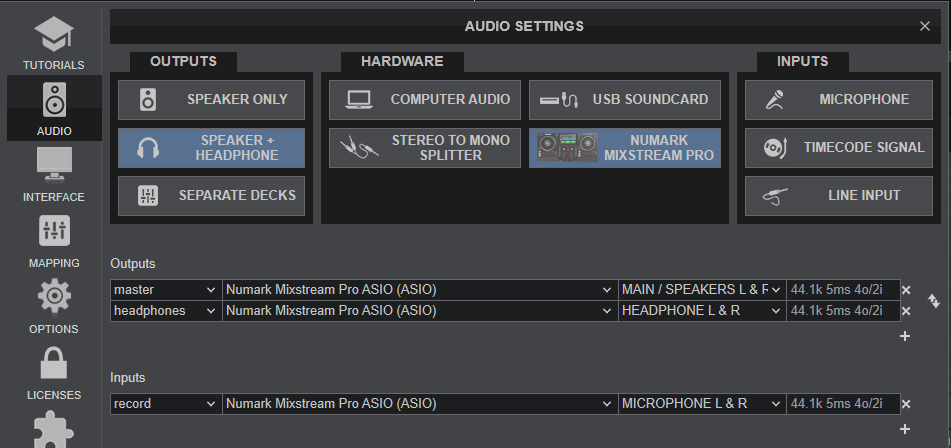
See also Inputs & Recording.
For further software settings please refer to the User Guide of VirtualDJ.
https://virtualdj.com/manuals/virtualdj.html