DDJ-SX3
Advanced Setup
RECORDING
The DDJ-SX3 offers a dedicated Record Input and can be used to record your mix along with any analog input (Microphone, Analog Source etc) connected at the rear panel. This input is included in the default Audio configuration of the unit and no further adjustments are required.
TIMECODE CONTROL (DVS)
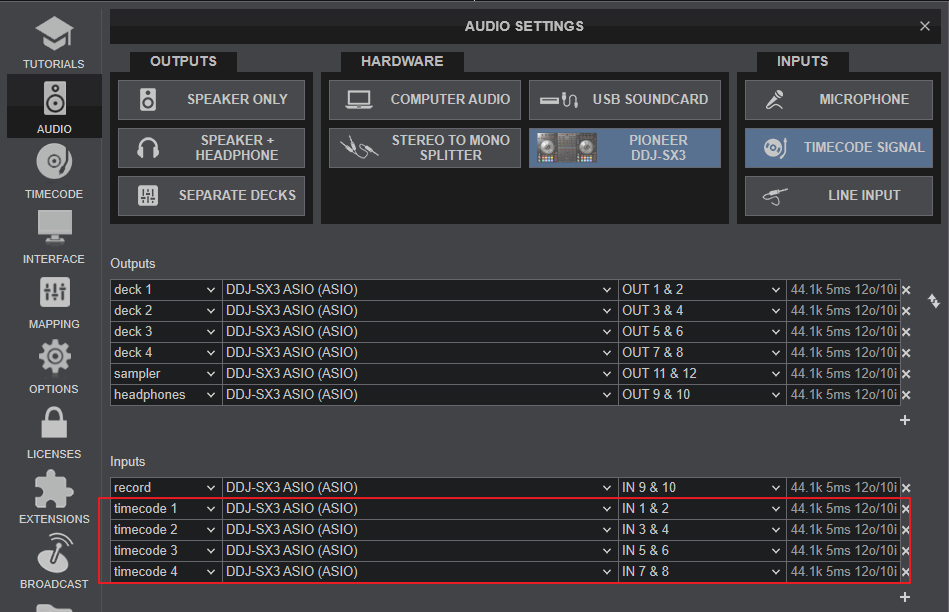
The DDJ-SX3 offers 4 Inputs suitable for Timecode Vinyl/CD. Connect your Timecode units (Turntables/CD Players) at the CH1 to CH4 inputs at the rear panel and make sure the SOURCE switchers at the top panel are set to USB A or USB B (depending on the USB port you have used to connect your computer.
Open the AUDIO tab of VirtualDJ Settings and click on the TIMECODE SIGNAL button at the top-right, to automatically add the necessary timecode lines to the Audio setup. If line inputs are in the audio setup (offered by default), click on the LINE INPUT button as well, to remove the linein lines.
Click to APPLY.

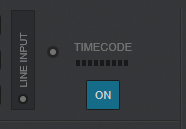
Use the TIMECODE ON buttons from the VDJ GUI to enable the Timecode controls to a VirtualDJ deck.

MICROPHONE INPUTS
The DDJ-SX3 offers the ability to connect up to 3 Microphones (2 at the rear panel and a 3rd one at the front).
The front MIC3 input is directly routed to the Master Output and only a Volume control is available.
The other 2 Microphone inputs MIC1 and MIC2 (connected at the rear panel) can be routed to a DDJ-SX3 mixer channel via the SOURCE switchers at the top panel on mixer Channels 3 and 4 respectively. This means that for 3 microphone inputs, you will be able to control only 2 VirtualDJ decks via the DDJ-SX3 mixer.
None of the Microphone Inputs can be included in VirtualDJ Setup (Hardware inputs), nor can be controlled from VirtualDJ. However, all 3 of them can be recorded along with your mix.
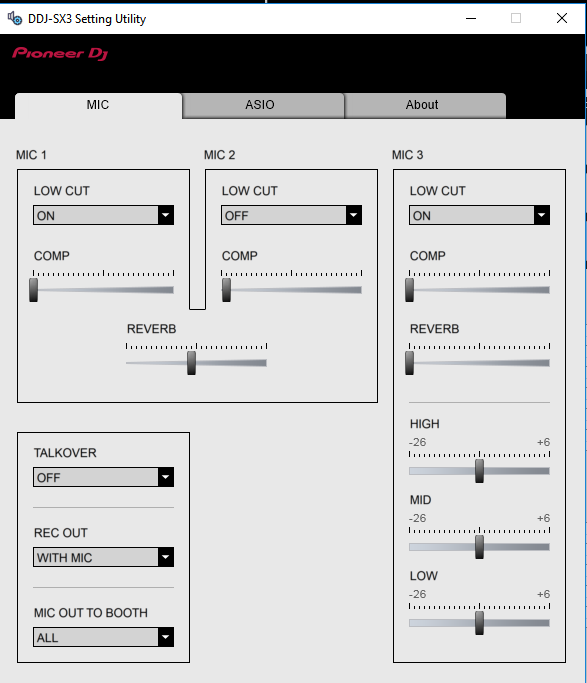
Further adjustments for the Microphone Inputs can be done via the DDJ-SX3 Settings Utility


